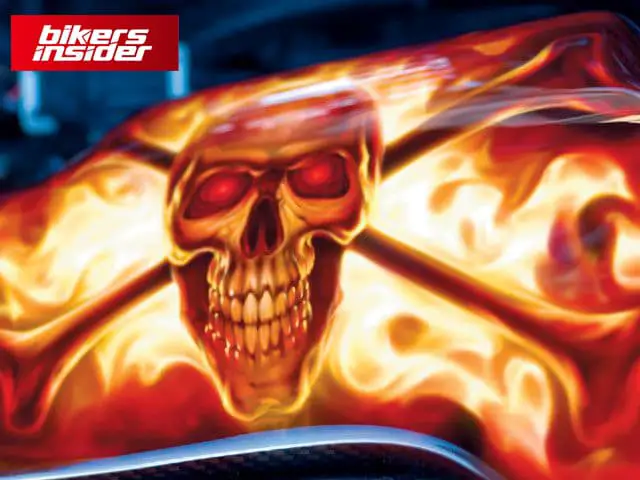
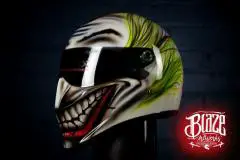
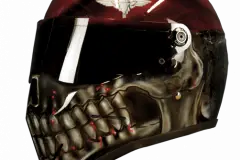
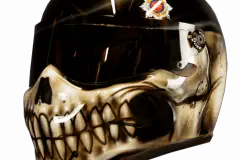
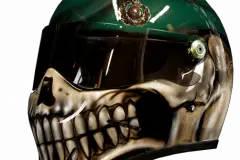
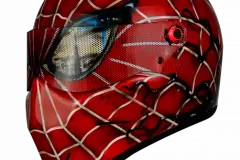
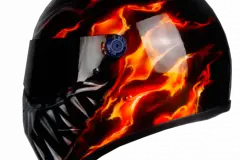
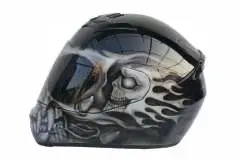
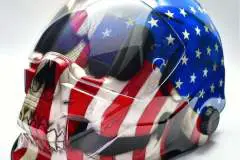
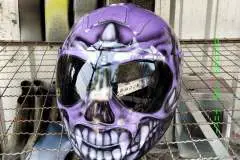
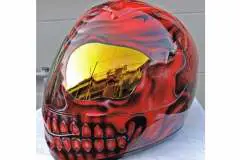
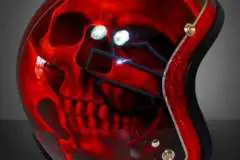
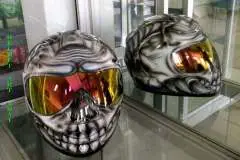
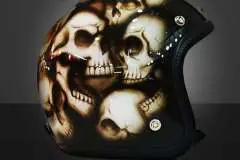
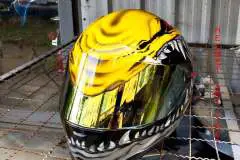
You might have heard the term airbrushed motorcycle helmets a lot if you are into helmets. There is something special when you can personalize your helmet however you like, by painting it with an airbrush.
Of course, you don’t need to know how to airbrush a helmet, as there are numerous businesses specialized in that. Nevertheless, it is always nice to know something about a craft; you never know when you will need such knowledge!
In this post, we will walk you through the history of the airbrush technique, explain the craft in all its might, teach you how to airbrush on your own, and introduce you with some names in the industry! Without further ado, let’s start!
Table of Contents
A Brief History of the Airbrush Technique
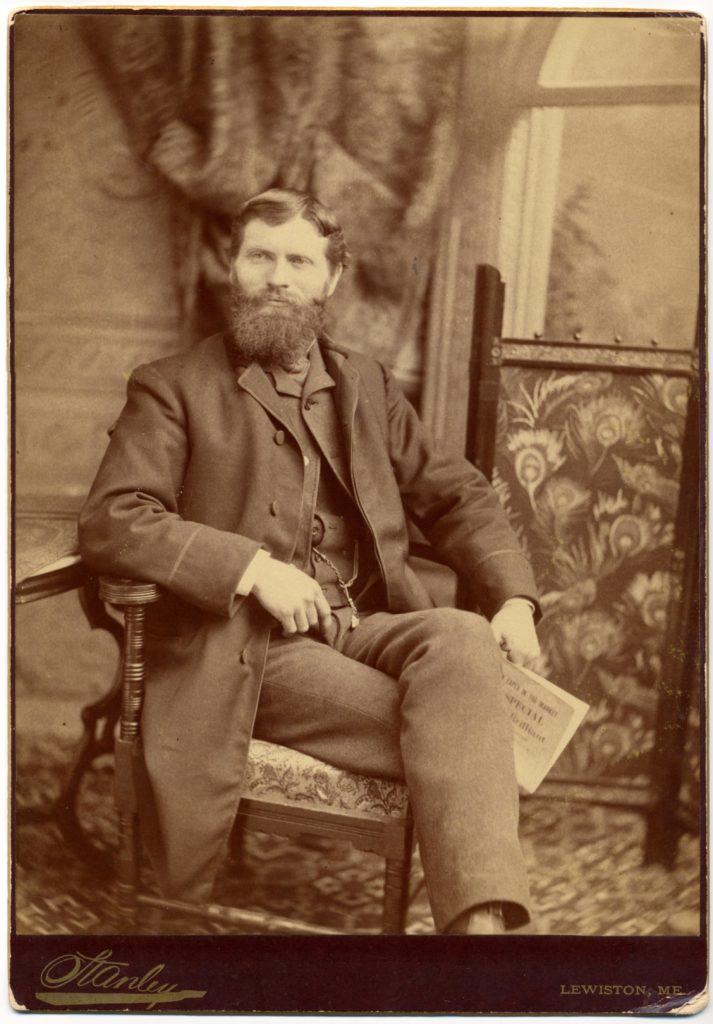
The airbrush technique has a fairly long story. It was invented by Francis Edgar Stanley (from Massachusetts) in 1876. Afterward, he started perfecting the art by coating photographic plates with his company, the Stanley Dry Company.
Another vital person to airbrushing history is Abner Peeler, who developed the paint distributor. The device had a hand-operated compressor, albeit the device was pretty crude, as it was made of spare parts.
A few years later after his discovery, Liberty Walkup developed a working prototype of the same device, which his wife labeled as an airbrush. Fun fact: she even started the Illinois Art School to teach this craft to students worldwide!
The airbrush was further developed in 1983 when Charles Burdick invented the first atomizing airbrush. He eventually founded the Fountain Brush Company, which launched the first airbrushes in the world market. The company still produces excellent airbrush guns, under new management, of course.
Now that we know something about the development of airbrush technique and tools during its inception, let’s learn how the airbrushes work!
How Do Airbrushes Work?
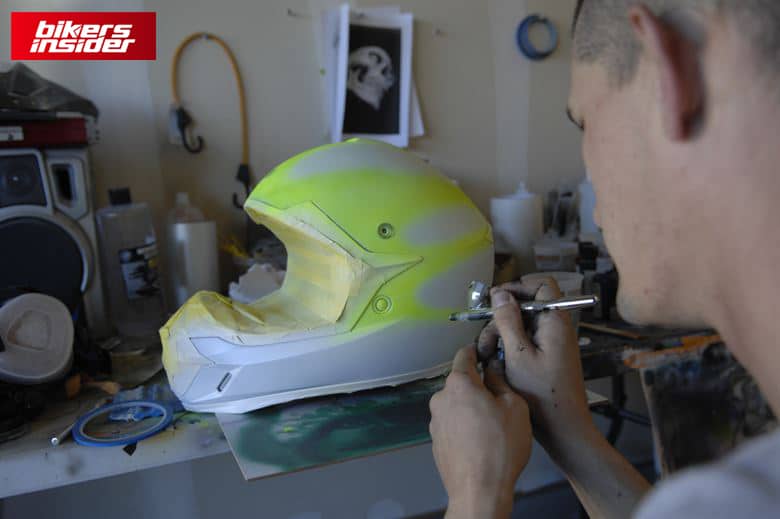
Airbrushes are all about air pressure. When the operator presses the airbrush trigger, a stream of compressed air will pass through a pipe. That will create a reduction in air pressure. On the other hand, the paint will venture up from the reservoir at standard atmospheric pressure. The high velocity of air will atomize the paint, hence, carrying the color to the appropriate surface.
Gravity plays a prominent role in the process of feeding the paint. We can distinguish from three feed types:
- Gravity feed – feeding the paint from the paint reservoir
- Side feed – draining the paint from the side reservoir
- Bottom feed – feeding the paint from below
These three feed types feature their advantages. For example, gravity feed will require much less pressure to absorb paint. On the other hand, the side and bottom feed allows artists to see over the top.
So, how the atomized paint mist is created? Well, the air and paint mix at the spot entering the internal airbrush. There are also instances of external mixing when the air and paint mix after quitting the airbrush, which creates a larger pattern.
Another thing to keep in mind is the control of paint-metering. The airbrush operator can do this when he uses a variable trigger that will create a polished blending effect.
Well, what makes airbrushes desirable with painters is that they enable seamless color blending. They also eliminate the need for stencils to add the floating quality to airbrushed graphics. Something is immensely satisfying when you see the soft transitions between background and foreground colors that airbrush graphics enable. An experienced artist can do wonders, bridging art with photorealism, with the airbrush.
When an artist works with the airbrush, there are some precautions that he keeps in his mind. It is critically important not to inhale the atomized paint, as it can enter deep in the lungs. Hence, the best ambiance for airbrushing is in a place with a clean air source.
What Are The Types of Airbrushes?
We can classify airbrushes by three specifics:
- The action that the artist performs to trigger the flow of paint
- The mechanism that fuels the airbrush with paint
- The location where the air and paint fuse
The action performed by the trigger differs from the color flow and spray pattern adjustment (you can achieve the other two separately). When you tamper with the airbrush needle, it will change the color volume and spray patterns. So, turning the tip of the paint on the airbrush allows for some pattern modification.
Beginner artists should opt for angle-action airbrushes. With them, you will be more limited from the artistic perspective but will leave much less room for error.
Dual-action airbrushes allow artists to actuate air when the trigger is depressed, and adjust the colors at the same time with the slide of the trigger.
Other than these three classifications, we can classify airbrushes by pressure use. For example, some airbrushes utilize only 1,38 bar of pressure, and those that go high as 2 – 2,4 bars of pressure. If an artist wants to spray on the car body, he will need a larger airbrush (usually referred to as spray gun) that utilizes 6,8 bars of pressure.
The rule of the thumb is – higher pressure equals in higher paint volume. But, there are airbrushes such as High Volume, Low-Pressure spray guns that go above this rule and bring the high volume of paint with less pressure to the table.
How To Make Your Own Custom Airbrushed Motorcycle Helmets?
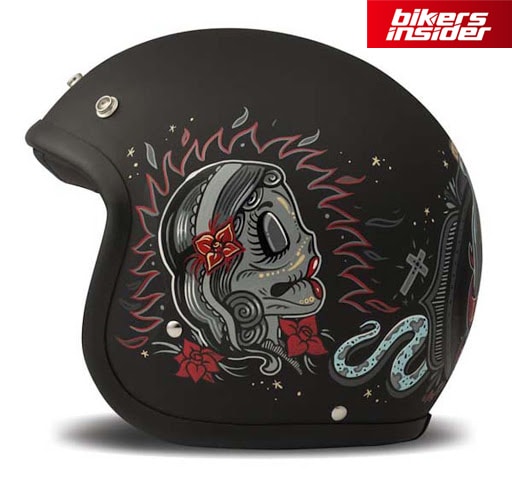
Now that you know how the airbrush works, how can you create your own custom airbrushed helmet? First of all, you will need the helmet to use as a canvas, some airbrush paint, and an airbrush kit. There is still some finesse to cover when it comes to airbrushing the helmet visor.
What Are The Best Helmets To Airbrush?
Custom painted (or airbrushed) motorcycle helmets can be a hefty investment. That’s why it’s important to know what helmets are the best canvases for custom paint jobs.
If you want an airbrushed full-face helmet, we would wholeheartedly recommend Shoei RF-1200 helmet (which costs 470$/430€/385£). Want to go even cheaper? Then, you should consider airbrushing the Matrix helmet (it costs 67$/62€/55£).
Our bet for the best jet helmet (also known as 3/4 helmet or open-face helmet) to airbrush is the Bell Custom 500 helmet (its price is 126$/116€/103£)!
Fancy yourself an airbrushed half helmet? Well, the best designs are created on Daytona Half Helmets (63$/58€/52£)!
Where To Find The Best Airbrush Paint?
You can find the best deals for the airbrush paint on Amazon.
If you are a starter, we recommend you get the Createx KIT-SUPER16 Airbrush Starter Kit, which includes 100 paint cups (its price is 90$/83€/74£)!
Where To Find The Best Airbrush Kit?
Again, the best place to find the best airbrush kit for sale is on Amazon.
For beginners, our best recommendation is the Master Airbrush, a multi-purpose kit (quite affordable at 60$/55€/49£).
How To Airbrush The Helmet Visor?
Our goal here is to share a technique to paint the helmet visor and leave visibility intact. The secret is in applying dark tint to the visor so that it looks painted.
On the other hand, if you want to apply actual paint to the helmet visor, it is best to attach the vinyl to the visor surface for protection, and then paint the visor. Here is the painting procedure down below!
First of all, here is what will you need for this process:
- plastic wrap
- vinyl screen
- masking tape
- spray adhesive
- 600-800 sandpaper
- grease remover
First, you need to remove the visor from the helmet. For protection, tightly wrap a piece of plastic wrap around the visor. Then, cut enough of the vinyl screen to cover the visor. Afterward, put little rolls of masking tape on the back of the vinyl screen, or spray the back of the screen with spray adhesive.
Now, fold the screen tightly over the visor and tape it. Make sure that no tape is visible from the front side. Then, cut off all the surplus screen. Leave at least 1/3 of an inch so that you can pull it tightly over the surface. Use the sandpaper to sand the screen surface. Afterward, spray some grease remover on a clean cloth and wipe the visor to remove your fingerprints. Wait for 5 minutes and then wipe it again with a dry cloth.
Now, for the last steps. Mask off the exposed area on the helmet; you will need to clear coat the helmet later. Then, use some tape to stick the visor in its appropriate place on the helmet. In the end, clean the helmet and the visor again to ensure there are no excess things on them.
Keep in mind that your visibility will be significantly reduced if you paint a vinyl screen on your visor. So, it’s your responsibility if you go with that kind of helmet on the road!
Where To Find Airbrushed Motorcycle Helmets For Sale?
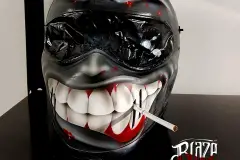
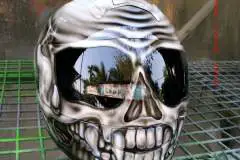
Now, if you don’t want to make airbrushed motorcycle helmets on your own, you don’t have to! Some businesses are specialized in creating custom airbrushed helmets for their clients. One of the best designers of airbrushed motorcycle helmets is the UK-based Blaze ArtWorks. They have quite a few themed custom airbrushed motorcycle helmets, like skull helmets.
Check out some of their affordable designs down below!
On the other hand, if you want to hire a designer to airbrush your custom design on the helmet, your best bet is Etsy. There, you can find lots of unique airbrushed helmets, but also designers that can help you bring your vision to reality. Just send a message to creators of some designs, and get the creative juice flowing!
Here are some fantastic airbrushed motorcycle helmets from Etsy!
Airbrushes have been around since the end of the 19th century. Of course, the trade has evolved for a century! Now, the demand for airbrushed motorcycle helmets is immensely high, but it is always lovely to return to the craft’s root. We hope you got some valuable information and that some designs have inspired you!
For more awesome helmet designs, check out our picks of the coolest motorcycle helmets for 2021!

