Table of Contents
Introduction
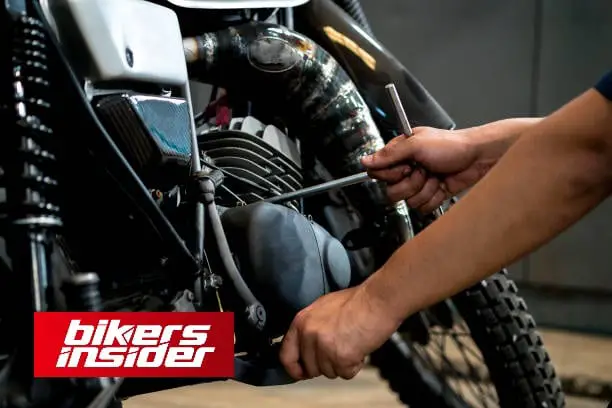
Regular maintenance is a must for motorcycles. Keeping the chain (if it has one) greased and inspecting the tyre pressures are the most common daily tasks. This involves maintaining the bike clean to inspect it for signs of wear and tear, such as failed bearings, broken seals, and other indicators of wear and strain. To service your motorcycle, you must first read and comprehend your bike’s owner’s handbook as well as this guide of BikersInsider.
Regardless matter how frequently you ride, the oil filter in your motorbike should be replaced at least once a year.
If your bike has an oil warning light on or is running rough, you’ve waited far too long; you should service your bike at regular intervals for both safety and performance.
Remember that oil, filters, and plugs are only a small portion of necessary maintenance; you should also inspect the brakes, tyres, bearings, cables, electrics, etc.
Tools required to change oil, filter and spark plugs
The intention of this article is not to be all-inclusive of all you need to know about servicing a motorbike. So we strongly advise consulting a manual first.
Our goal is to give you the confidence to do the task yourself, but you will only have the right process if you have a workshop guide relevant to your machine. You will also require the following.
- Socket set
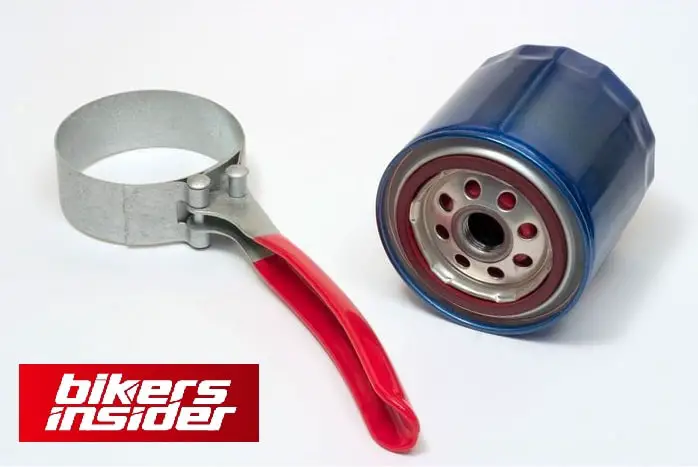
- Oil filter wrench – you can use a chain-type, but it’s worth investing in a cup wrench, which fits over the filter and makes it easier to remove and torque up correctly
- Spark plug socket – there should be one in your bike tool kit, but if not, it’s a huge help to get one that has a rubber insert to grip the plug
- Torque wrench. This isn’t essential though.
- Screwdrivers
- Allen keys
- Protective gloves
- Oxford clean grips are great for keeping your bar grips from getting oiley.
Here you can have a look at all the above-mentioned tools you require to service your motorcycle.
| Image | Tool Name | Picked for |
|---|---|---|
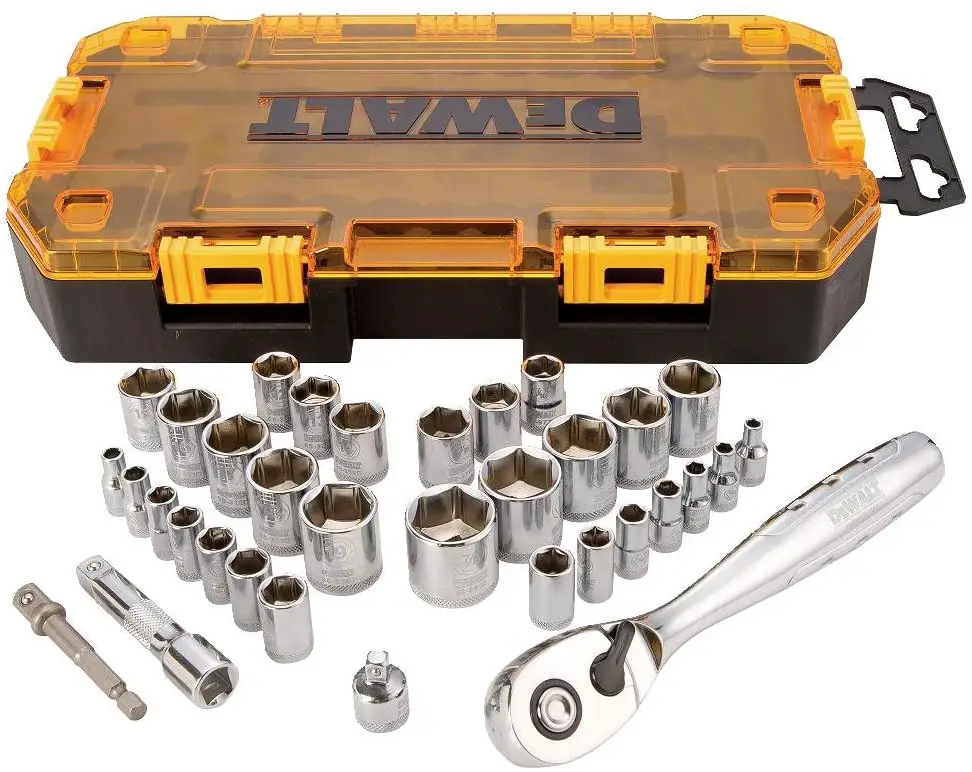 |
DeWalt Socket Set | Check Price |
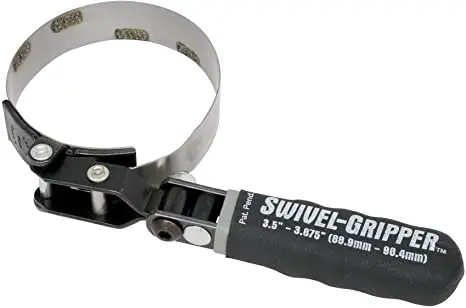 |
Oil Filter Wrench | Check Price |
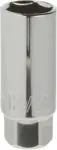 |
Spark Plug Socket | Check Price |
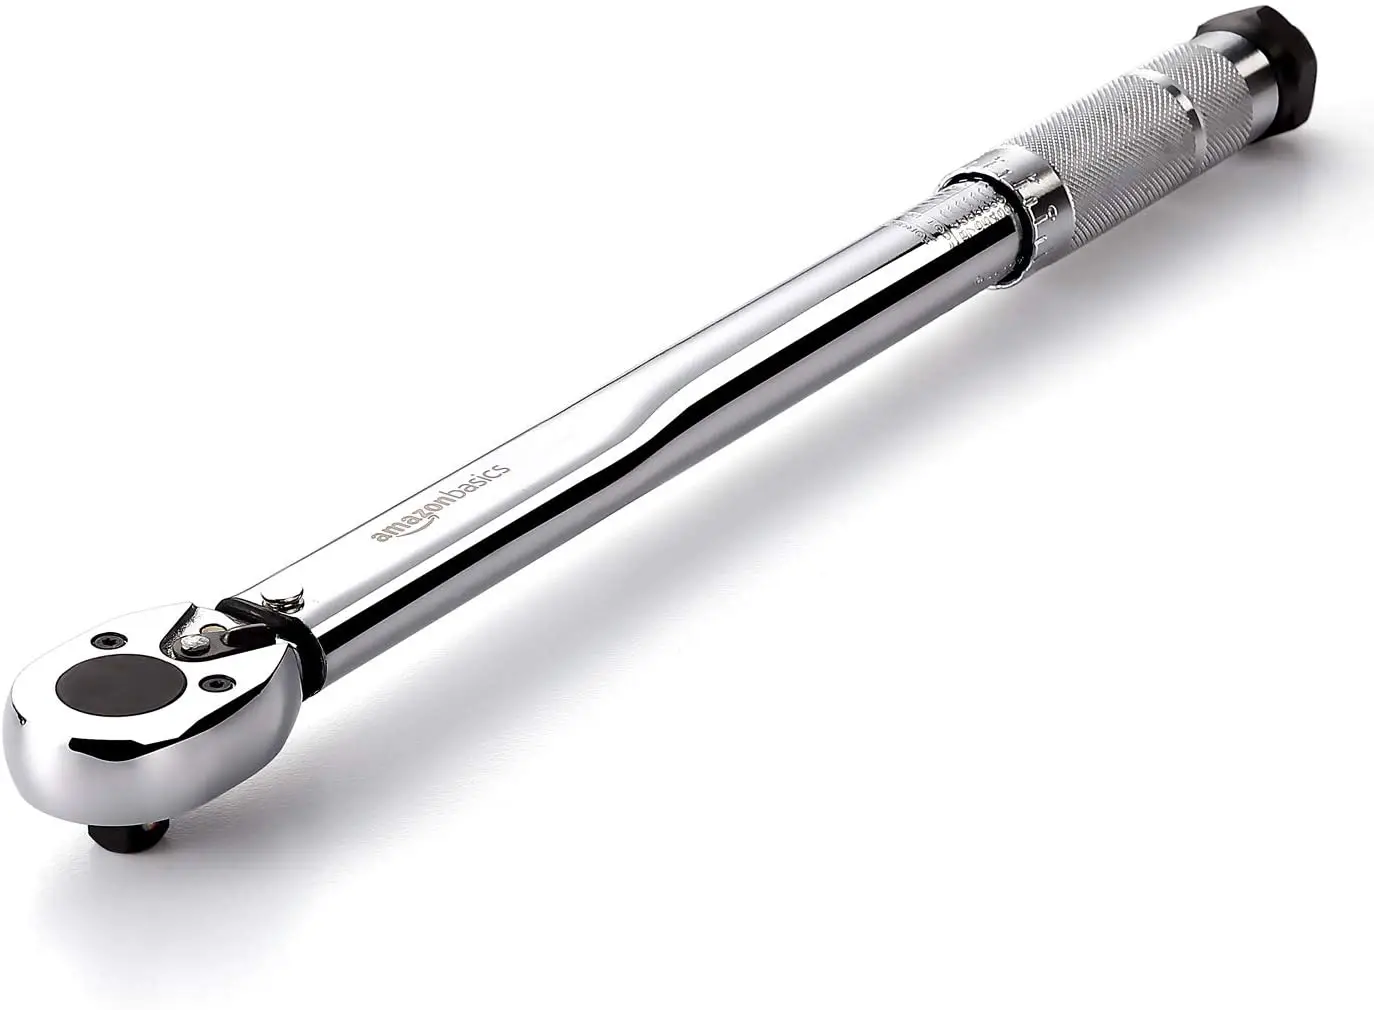 |
Torque Wrench | Check Price |
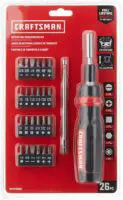 |
Screw Drivers Set | Check Price |
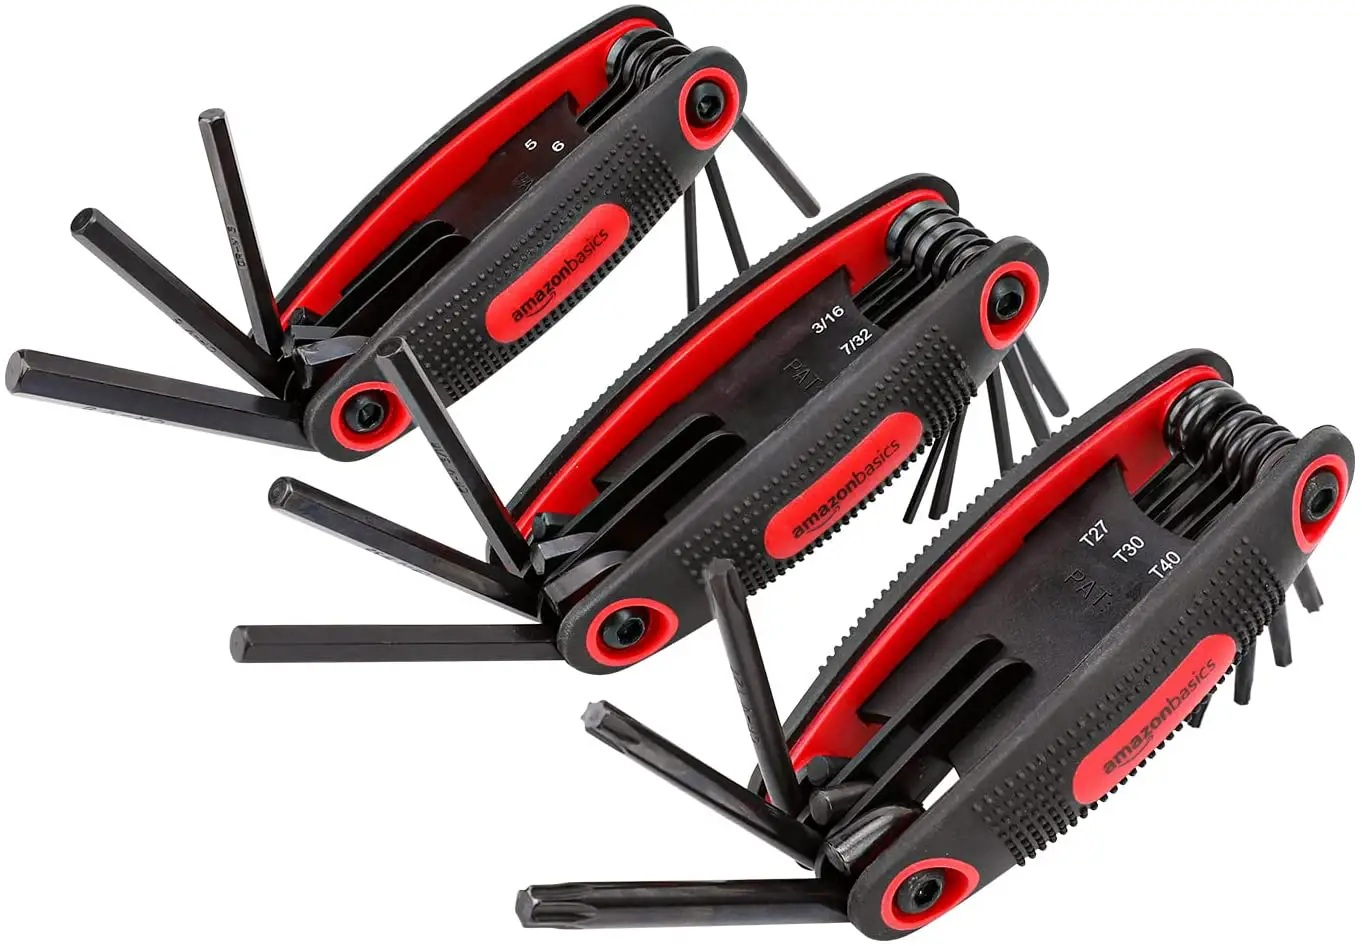 |
Allen Keys | Check Price |
 |
Protective gloves | Check Price |
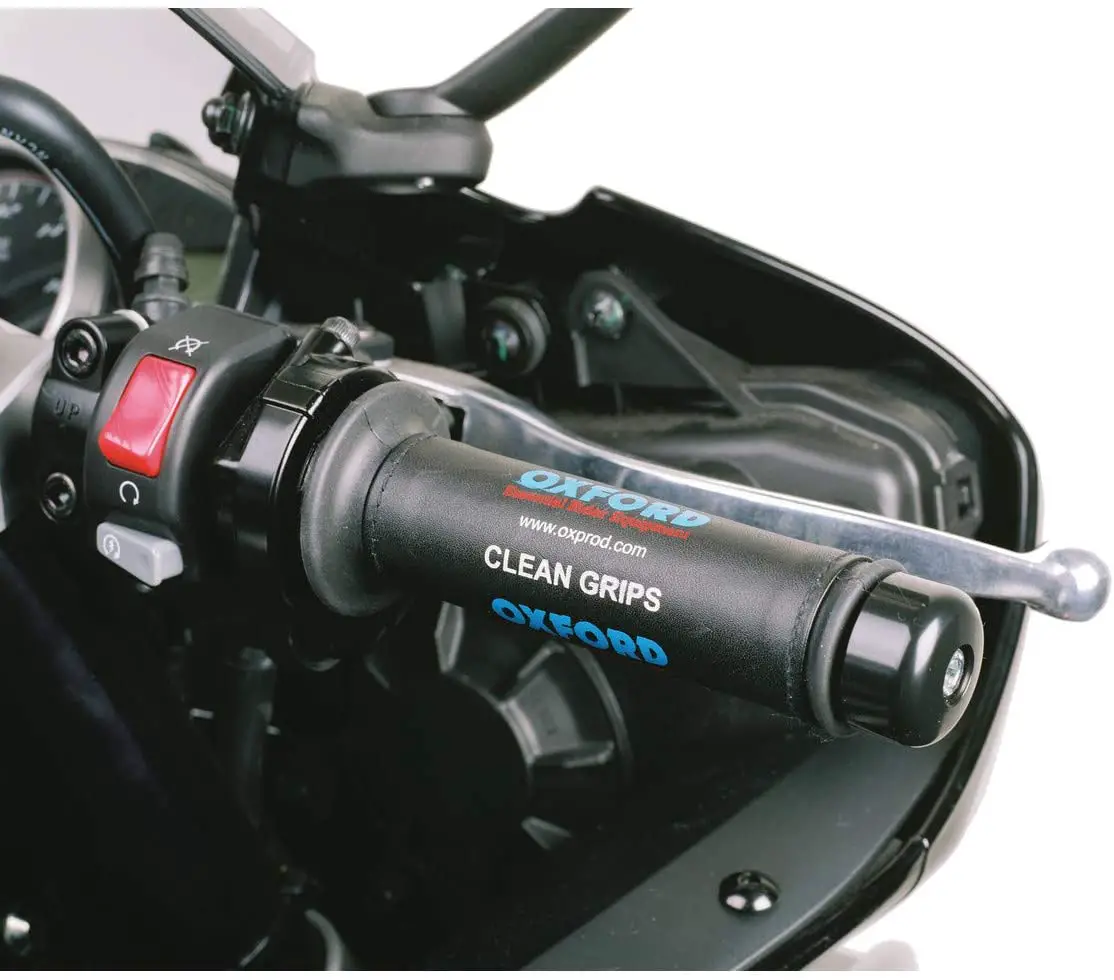 |
Oxford clean grips | Check Price |
How to change Oil and Oil filter of motorcycle
The most essential thing you can do to maintain your bike’s engine healthily is to change the oil regularly. As a bonus, it’s one of the simplest tasks to perform.
Step 1: Warm up the engine before the next step.
Run the engine for a few minutes before removing the old oil to let the oil drain more readily and remove more deposits with it. Take extreme caution because the engine and exhaust will be extremely hot.
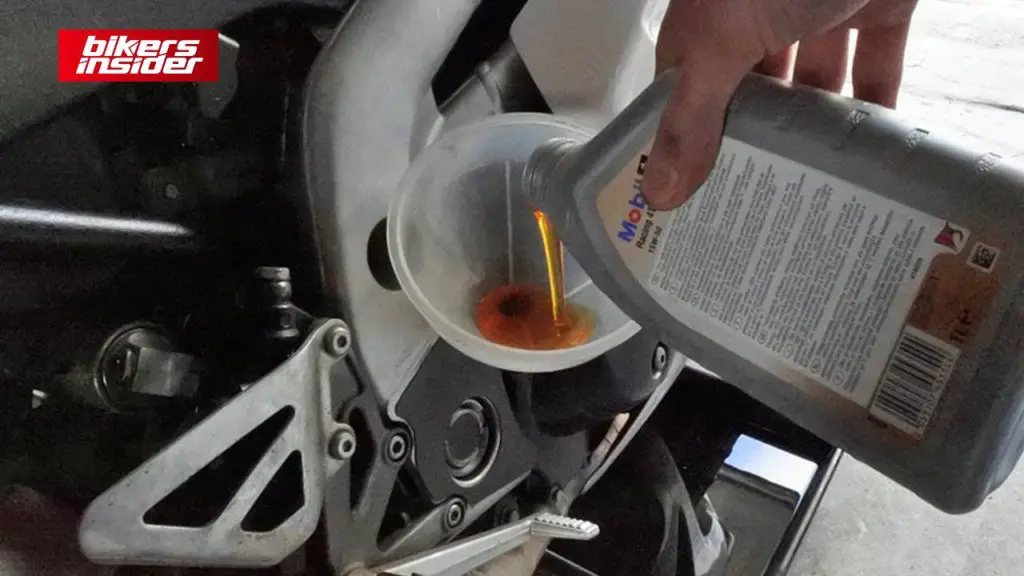
Step 2: Open the oil filler cap when the bike is upright.
If your motorbike does not have a center stand, a paddock stand will be good. It has been a big benefit to have my motorbike mounted on an Abba Sky Lift for all the work I’ve done on it.
Step 3: Ensure that the oil filler cap is open, so that air can get in and prevent oil glugging.
Next, it’s time to tidy everything up.
Clean the sump plug and the surrounding region and the area where the oil filter joins the engine of any dirt.
Step 4: Unscrew the drain plug from the sump pump.
Use a spanner or socket set to loosen the sump bolt, then carefully pry it apart with your oil collect tray beneath (with your latex or similar gloves). You can feel when the threads on the bolt have run out by slowly removing it while keeping it pressed in; The sealing washer should be on the bolt; if not, remove and discard it from the sump.
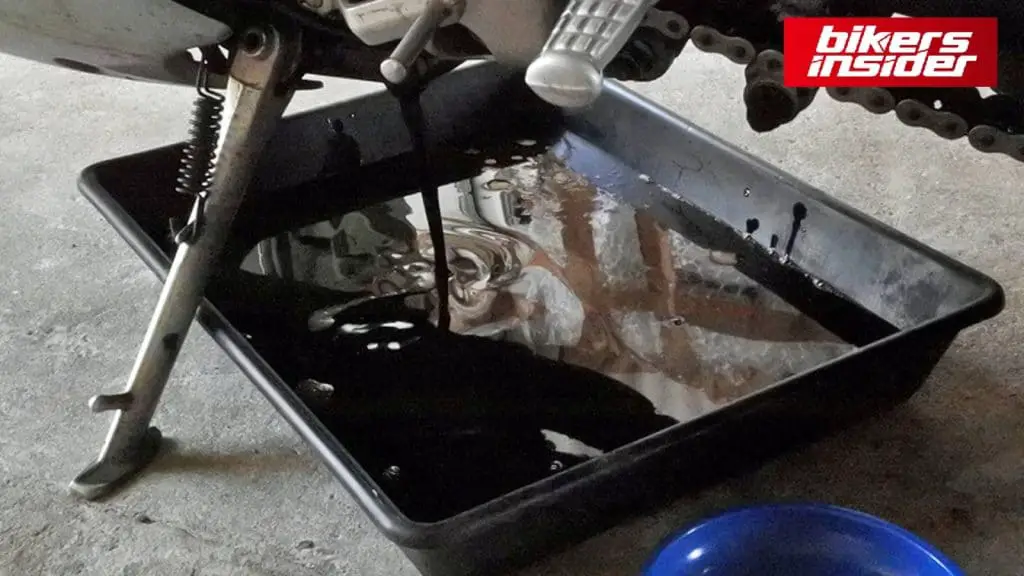
Drain the oil completely out.
Step 5: To finish, tighten the sump bolt.
Ensure the old washer is out of the way, but the new one is on, and then insert the bolt into the sump. Tighten it to the specs with a torque wrench if you have one.
If you don’t have a torque wrench, be cautious not to overtighten this bolt. It’s just 20Nm.
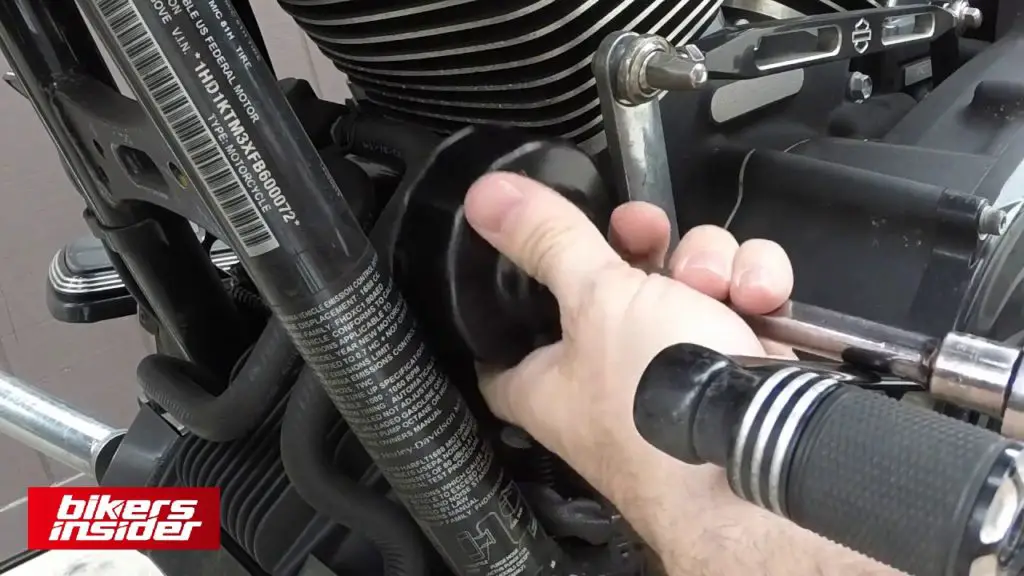
Step 6: Remove the oil filter in the final step.
Change where you place your catch tray.
If oil is dripping from the filter-to-engine block gap, you can unscrew it with a filter removal tool. After draining the engine, there shouldn’t be any further leaks, but keep in mind that the filter will still be dripping with oil.
Step 7: It’s time to lubricate the new filter!
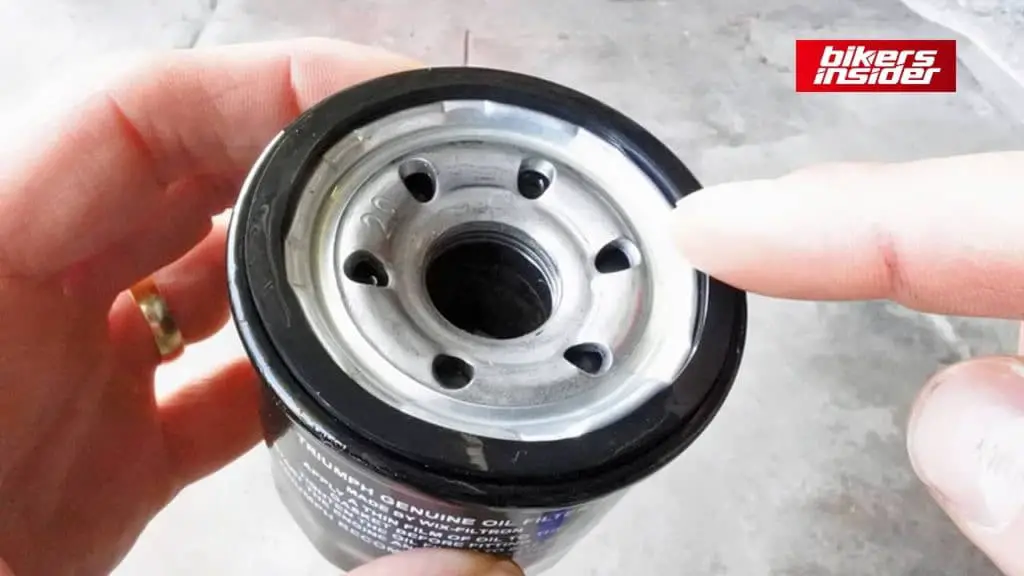
The huge rubber O-ring in the filter may be cleaned by wiping some of your new engine oil on your finger.
Step 8: Replacing the oil filter is the last step.
After cleaning the filter seat:
- Turn on the filter by spinning it.
- Tighten the necessary tension with a torque wrench and cup wrench (10Nm on this bike).
- Spin it on till the rubber seal hits and tighten it by hand 34 of a turn if you don’t have the necessary equipment.
How to clean or replace spark plugs of your bike.
You can tell a lot about how well your engine is functioning by looking at the life expectancy of your spark plugs. Like my Honda Grom, getting to the plugs is a breeze in certain vehicles. Still, it may be a tedious process in other vehicles, which is why having a dealer do it for you can be so expensive…
Step 1: Removing the tank and airbox is the first step.
On this bike, in addition to removing the airbox lid, you must also remove two additional bolts and the hoses that connect to the base of the airbox.
Laying a towel over the intakes will ensure that nothing falls into them.
Step 2: Remove the plugs and wash the area surrounding them.
You don’t want to get any grit or tiny stones in the wells where the plugs sit since they’ll fall into the engine when you remove the plugs. Remove any loose grit by using an airline (I used my Brühl bike drier) to blast it away after you’ve cleaned the area thoroughly.
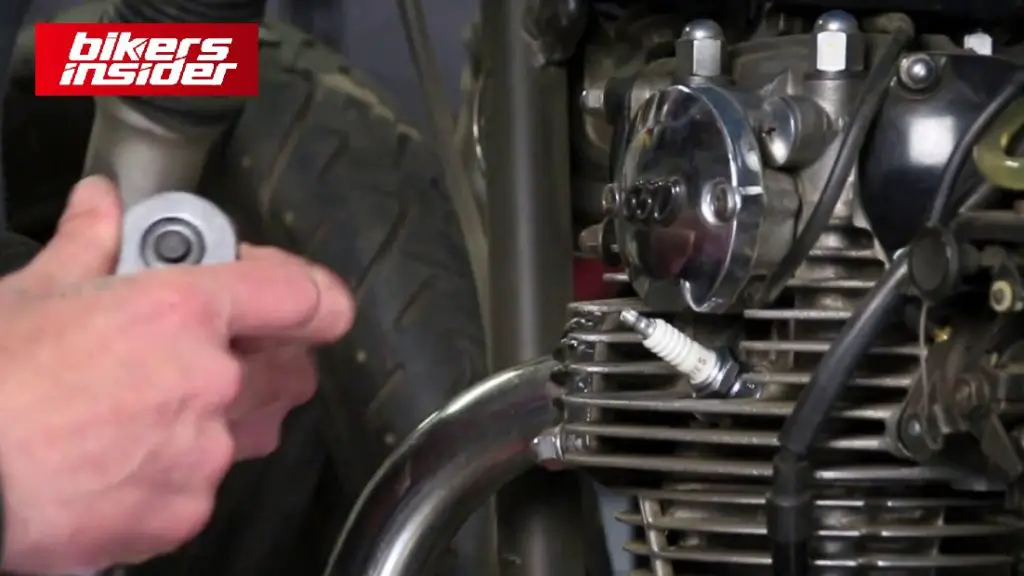
Step 3: Take out the ignitor
Make a mental note of how the plug leads are out; if they have no label, you’ll want to use tape to help you reinstall them correctly.
You’ll need to remove the plug covers first, then use a socket or wrench to unscrew the spark plug from the vehicle. If the rubber bung on the plug isn’t holding it in place, use a magnet to pry it out.
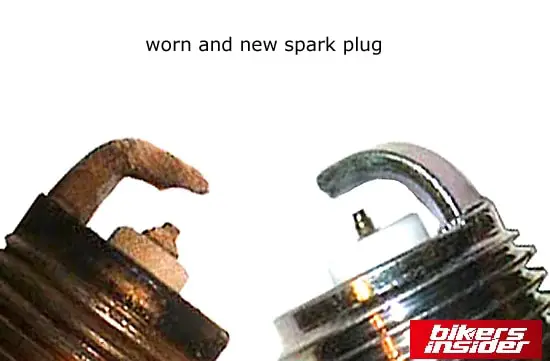
Step 4: Inspect the spark plugs for damage.
You may learn a lot about an engine by examining the end of each plug as you take it out. At first, I was alarmed when I noticed oil on a couple of the plugs in my ZX-6R, but closer inspection revealed that the oil covered the whole thread. Because of leaks in the valve stem oil seals or piston rings, the end of the plug would be coated with oil while the threads would be completely unscrewed from the cylinder head. For no apparent reason, the oil began dripping down the plug well and coating its threads as soon as the spark plug was withdrawn from its socket.
Step 5: Observe the electrode gap in step five.
Cleaning plugs is possible if done carefully with a wire brush and after making sure there is no damage. When it comes to me, I just replace them.
You should use a feeler gauge to verify the electrode gap. Still, I haven’t seen one in the recent 10 years that needed altering from the factory settings. You can bend side electrodes to fit if necessary. When using fine iridium plugs, avoid pulling on the electrode tip.
Step 6: Finally, insert the spark plugs into the engine.
Cross-threading the plugs is important because they’re into an aluminum cylinder head with steel threads. Once I’ve found the hole, I turn the plug anti-clockwise to unscrew it. The threads will drop over each other as the plug spins. You may start turning the plugin by hand immediately after the threads drop over – it should have picked up correctly.
Make sure to insert the plug completely by hand before trying again.
It’s a good idea to use a torque wrench. Taking them apart will cause the crush washer on the plug to compress when you remove them… Although it may seem as though the treads are coming out, remember that you screwed the plugin by hand, which should give you some comfort.
When changing spark plugs for the first time, you’ll want to borrow or buy a torque wrench. You must be extremely cautious when doing so.
Afterward, reinstall the airbox and tank and the plug covers in the right sequence.
