

Table of Contents
Introduction
Even though leather is a wonderful material, it doesn’t have to be difficult to maintain. Learn how to properly care for your leather jackets, whether protective motorcycle jackets or trendy bomber jackets. If you follow these tips, you’ll only need to treat your jacket once in a while to keep it looking and feeling great for years to come.
Like our own skin, leather, derived from animal hyde, requires regular cleaning and maintenance. The leather will become discolored, stiffened, and brittle if you do not use it. At worst, the jacket will be less stylish and less functional. The worst-case scenario is that the jacket will be shredded in a collision.
Leather and motorcycles go together like peanut butter and chocolate. Seriously. It’s not uncommon for adult men to break down in tears when they recall the first time they bought a leather jacket and how it grew to fit them like a second skin. While riding in your favorite gear is a great experience, it comes with a price: bugs, grime, and even the rain. If proper care techniques are followed, excellent leather can last a rider many seasons and maintain that ideal balance between broken in and factory new.
Wash lining to get rid of salt and stink
Removable mesh lining suits are now standard in most leathers, making getting into and out of leathers. You can wash it by following the manufacturer’s instructions if that’s the case.
Many anti-microbial lining suits will not get too nasty, so long as they’re allowed to air-dry. However, if you must, wash these first before tackling the leathers.
Find an excellent leather de-salter to get rid of the stench and salt. Spray it on the jacket, then rub it with a clean rag. The jacket’s interior should also be sprayed down with a deodorizing spray, and you may remove any removable lining and spray them separately if you want to be extra thorough.

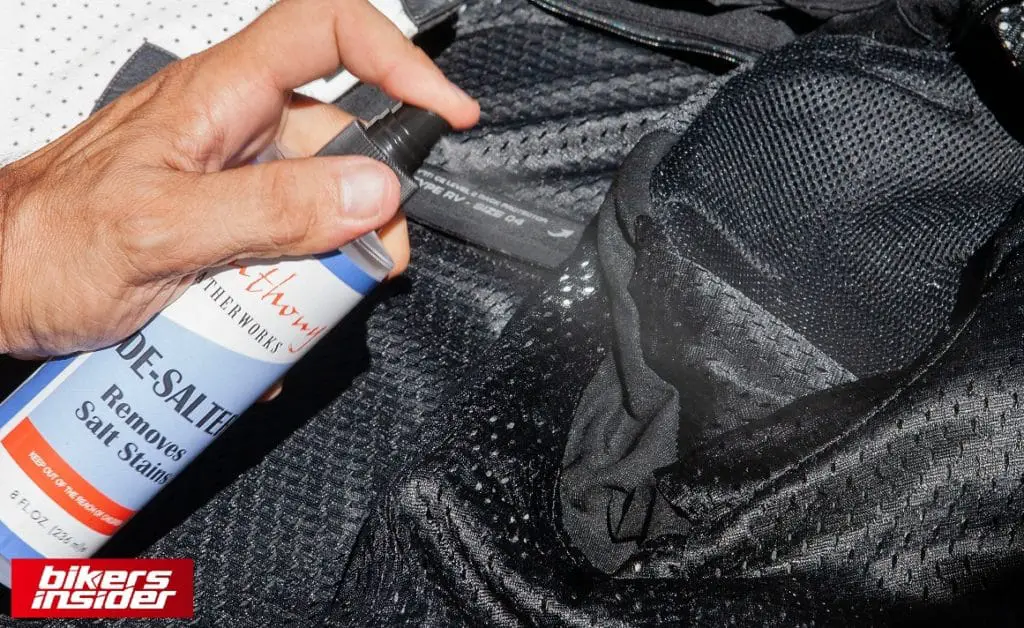
On hot days, we’ll sweat in even invented leathers. Sweat can do two things to our leather goods. That funk that lurks on the liner material. Second, if you wear a heavy sweater or ride in hot weather, you can notice sweat stains on your arms. Both are from our perspiration’s salt.
Hopefully, your leathers have a washable liner. Otherwise, chemical warfare is required. While other products exist, many riders rely on De-Salter. Many de-salters have been mending and restoring damaged leathers for years. Because of their excellent service, they have handled warranty repairs for major leather brands.
Spray any De-salter on exterior salt stains and rub it with a clean rag. Turn the gear inside out, then liberally spray the De-Salter onto the lining, rubbing it in with a rag. Now hang the garment up to dry thoroughly.
Clean the spots from the motorcycle leather kit
Regular post-ride spot cleaning will keep that bright bug splat from becoming permanent. It’s also simple. Hold a clean damp towel over the dirt/bug/whatever for a few seconds before wiping it away. A few repetitions (with a clean part of that soft cloth) may be required, but it will eliminate some surprisingly messy impacts. This will reduce the frequency of effective cleanings. When it comes to deep cleaning, start with a spot clean.
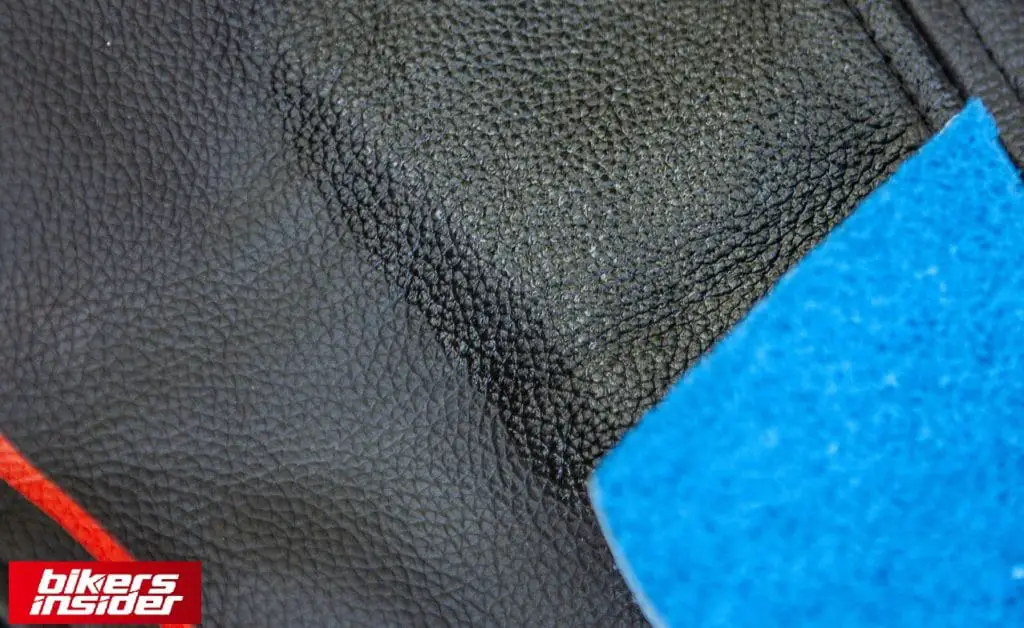
Entrails, exhaust fumes, and even rubber (especially if you ride on a track) can get into your leather and harm the upper protective layer. It’s a thin polyurethane covering on the outside of the leather that keeps water, dirt, and oil out. Suppose this layer is injured by a bug or a little scratch. In that case, the interior fiber of the leather hide might be broken down, reducing the suit’s protection.
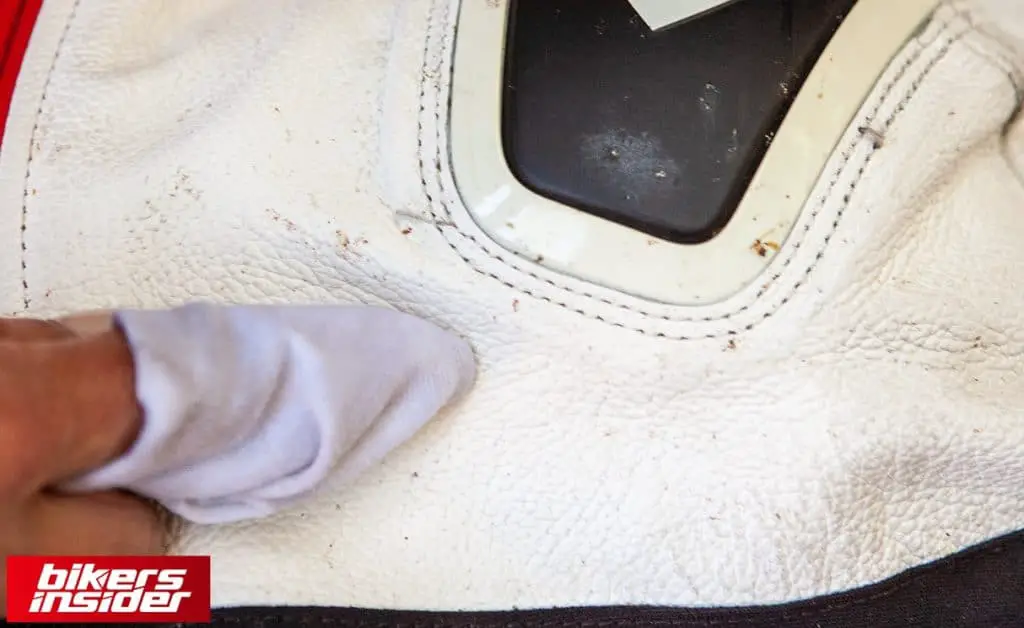
Most riders use a leather cleaning cloth to give the leather a quick wipe. The wipes are great since they prevent over-cleaning the leather and clogging the perforations on the chest and zips.
Work your way around each leather panel, moving from one to the next. Don’t push too hard, and don’t worry about stubborn sports. We’ll get to them in a minute.
Pay attention to the stitching around the shoulder and knee sliders, which protrude outside the fairing and are subjected to the outdoors.
Cleaning motorcycle leather kit with leather shampoo
After the initial clean, hang the suit up to dry for 30 minutes. The next step is to clean and condition the suit but not mix it with the sticky residue currently on it.
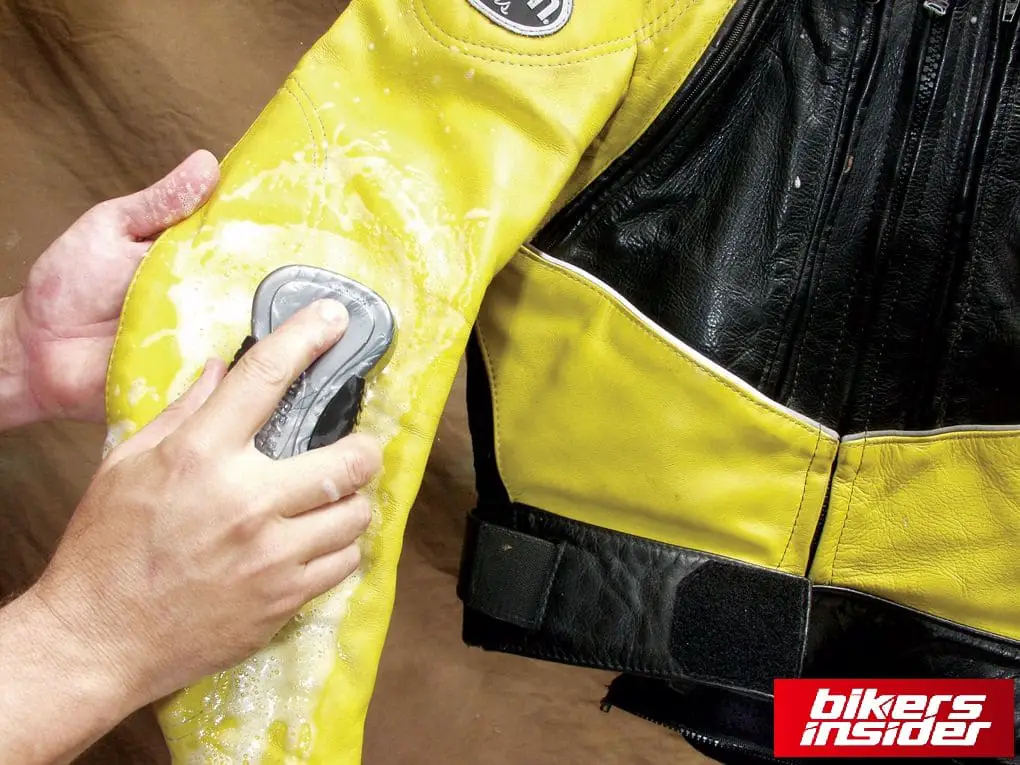
While we add perspiration to our jackets, the roads we ride add their own. Now that the salt is gone, it’s time to clean the jacket. To do so, use a leather shampoo.
Apply the shampoo to any areas with excessive filth or discolouration. Think dirty chest, elbows, and anywhere else with a lot of dirt. Then use the rag to shampoo the rest of the jacket’s exterior.

We don’t recommend washing your leathers by putting them on and taking a shower with soap. Restore the leather using a clean rag and any good leather cleaner. Work Easy Cleaner into any remaining spots/stains from the spot cleaning stage. Applique it liberally to the leather’s exterior, rotating to clean portions as the rag takes up dirt. After your satisfaction with the cleaning, hang your gear up to dry thoroughly.
Applying conditioner on motorcycle leather kit
Hydrating leather is similar to moisturizing skin. When it comes to protecting yourself in the event of an accident, leather that is still fluid and pliable is better than leather that has dried out and hardened. The pace at which your gear dries when you drive increases. Although quality leather conditioners are available, they dry up the leather’s natural fibers. Refilling leather’s supply of oils is necessary.
After applying the product, use a sponge to work it into the surface of your clothing and equipment. This is a good time to reapply your leather conditioner if you’ve neglected it. After applying the conditioner, allow the garments to dry thoroughly.

Conditioning your leather is as important as the first two steps in ensuring that it lasts as long as possible and stays in good shape. After removing the first two layers of leather, the conditioning process keeps it flexible and malleable. Steps one and two should only be necessary once a year if you maintain regular conditioning of your leather (every two to three months).
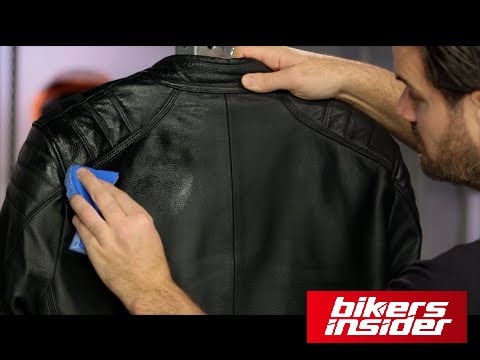
Use a sponge to work in the conditioner after spraying it down the jacket. Leather will buff after the de-salter and wash have dried to restore its sheen and eliminate any remaining conditioner.
Let it dry
Hang the suit up somewhere large enough to allow air to circulate around after conditioning and all the kit panels have been thoroughly cleaned. A bedroom door’s back is great, but wherever they won’t be too near to a wall or another garment is acceptable. For the leather food to be effective, it needs to be allowed to dry naturally.
Drying will leave a dull haze on the surface of the clothing. A clean, soft cloth can buff the leather’s surface back to its original shine.
What should not do for leather cleaning
We’ve heard and read about several shady articles on motorbike leather cleaning online. Here are the three most unusual and why you should steer clear of them!!
Tossing your leathers into the washing machine with some detergent is a bad idea on so many levels: the detergent will almost always be excessively harsh, and the spinning motion of the machine will tear the stitching and break up the fibers in the leather hide.
We’ve heard of people doing that, but please, no matter how filthy they are, don’t use a jet washer. The stitching will get damaged and, in some cases, ripped apart by the high-pressure spray. It could also cause the hide to bulge by allowing water to penetrate the leather’s protective outer layer.
Another typical but unsafe way is to use the cleaning supplies in your sink and a bucket of water to clean your kit. Spend a few dollars on leather maintenance products or the services of a professional leather-cleaning shop instead.
Please share your tips in the comment on how you take care of your motorcycle leather kit. For more guides and updates, keep visiting BikersInsider.


