Table of Contents
Introduction
Removing the carburetor from the motorcycle can be a pain; dismantling it and figuring out what’s causing the problem. Even though the mechanism is essential, it has little pieces that can be lost if disassembled.
Motorcycle carburetor cleaning is an essential aspect of motorcycle maintenance. After a particular amount of miles or at the start of the riding season is the best time to perform this procedure. Keeping your motorcycle’s carburetor clean will help it last longer. According to experts, many engine performance issues are due to the carburetor.

Carburetors are designed for each motorbike model by each manufacturer. Cleaning is a bit more involved, but it’s also relatively straightforward. We’ll go through various methods for cleaning your motorcycle carburetor without disassembling it.
Carburetor problems are almost as frequent as electrical problems. In older bikes that are difficult to start, don’t tick over, or stutter when you give them gas. But the good news is that carburetors are simple to clean. This activity should be at the top of your “to-do” list if your bike is acting up.
Step by step guide on how to clean motorcycle carburettor without removing it?
- It’s hardly surprising that people are looking for ways to clean their motorcycle’s carburetors without removing them from the bike. Carburetor problems and dirty carburetors are the most common culprits when it comes to motorcycle performance. Every time anything like this happens, cleaning can become a laborious chore.
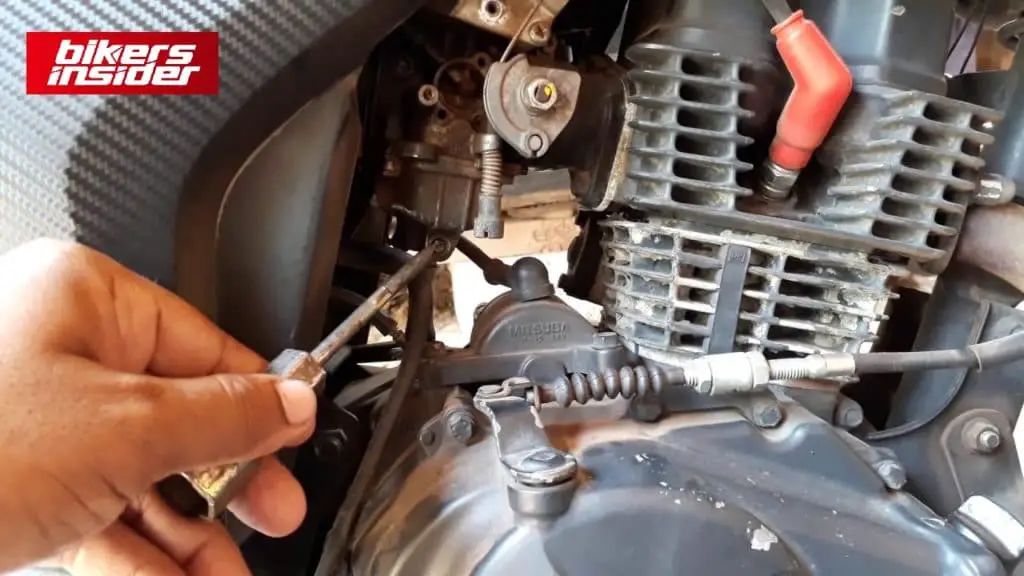
- This is where the majority of motorbike carburetors are positioned. Taking the throttle cable and intake boots off is something that many folks would rather avoid. You’ll need to first remove the airbox or pod filters to clean it without dismounting the bike. This is a simple process that may be completed and then reinstalled.
- After dismantling the air intake filters, the back of the carburetor will be exposed, allowing you to observe the butterfly valves open and close when you turn the throttle. To gain access to the carburetor, remove these parts. Take the bowl out of the carburetor’s bottom now.
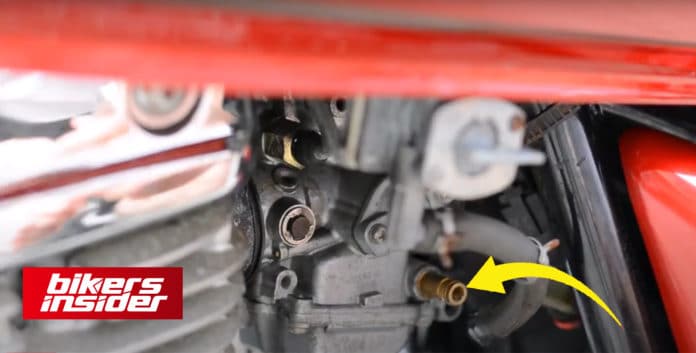
- Remove the middle bolt or a few screws around the bowl’s rim to free the bowl from mounting. Taking them off is a breeze and shouldn’t take more than a few minutes. Make careful to turn off your petcock so that you don’t run out of gas. Once you remove the bottom bowls, you’ll probably have some gas leakage, so keep some paper towels on hand.
- Spray some carb cleaner into the bowl when it’s unplugged to see if it works. Let any loose debris and filth loosen with a few sprays every few minutes. Start your motorcycle and observe if reattaching the bowl improved its performance. If it didn’t help much, you’d need to remove the bowls once more and follow these instructions.
- You’ll notice some floats in the carburetor once the bowl is removed (similar to the floats you see in the tank of a toilet tank). These floats raise when the gas level is high enough to keep the fuel bowl from overflowing.
- If you want to see what’s behind the float, you’ll also have to dismantle it. To remove the float, just push through a bit of wrist pin that holds it in place. When you remove the float, you’ll notice a rubber-tipped rocket ship-shaped portion attached to it. An overflowing toilet can be prevented by using this advice to stop it from overflowing.
- Together, this rocket-shaped portion and the float will disintegrate. This is an ideal opportunity to check on the flotation devices as they are already open. You can test their buoyancy in a bowl of water. They must be replaced if they don’t float, as this could lead to future mechanical problems with your motorcycle.
- Once the float is removed, you may access the carburetor’s jets by looking up within the unit. A primary jet and a secondary jet are generally present. Make sure you can see through the jets once they’re out. This is especially true if ethanol gas is being used. The most common cause of a carburetor not working correctly is clogged jets. Check out my article to find out more about what kind of gas to use on your motorcycle.
- Even if you can’t see through the jets, you should still clean them. If you’re not sure what’s lurking inside your body, this will ensure that you’re flushing it out thoroughly. To ensure that all of the gunk is removed, run carb cleaner many times for several minutes.
- The carburetor can now be sprayed with carb cleaning. Be sure to reapply the spray indoors and even outside. Allow the cleaner to work its magic for a few minutes before reinstalling all of the pieces. Reinstall the jets, the float, and last, the bowl on the bottom of the aquarium.
- Now that you’ve cleaned your motorcycle thoroughly, you can see if it operates properly by trying to start it. If you ever need to get to the carburetor again, you can leave the air intake filters off for the time being. Ignition filter installation may begin once the carburetor is clean.
Cleaning of carburetor with different products
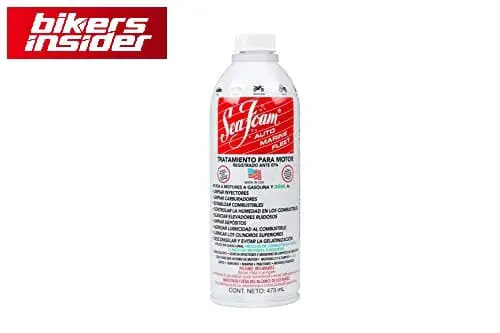
Cleaning of carburetor with seafoam
You can easily clean your motorcycle carburetor using Sea Foam. Changing the carburetor does not need to dismantle your motorcycle’s carburetor. For the most part, there are two ways to clean your carburetor; first, by combining Sea Foam with your fuel, and second, by mixing Sea Foam with your engine oil.

To clean your carburetor using fuel and Sea Foam mixture, you need to follow the below steps:
- Refill your gasoline tank entirely with the sort of fuel you regularly use. You must now add 1 ounce of Sea Foam for every gallon of fuel.
- Alternatively, you can combine the fuel and Sea Foam combination in a separate tank before pouring it into the tank.
- Close the tank lid and jiggle your motorcycle for a few seconds after adding the Sea Foam. The Sea Foam can now be fully included in your fuel.
- Test ride your bike for at least an hour. Sea Foam is cleaning the carburetor, so you’re seeing a lot of white smoke at first.
- Allow this cycle to complete and examine if the engine is optimized. You may repeat this process if required.
Cleaning of carburetor with carburetor spray
Many factors contribute to the buildup of deposits in the fuel system. The gas station’s gasoline quality can make a big difference in whether or not high octane fuel is free of contaminants. Kerosene or any other universal cleanser cannot remove these particles that clog the carburetor’s valves and jets. Keep in mind that any cleaning containing oil or silicone has an increased risk of choking and is therefore not recommended for use in carburetors.

Carb spray is the most convenient method of cleaning the carburetor. Dirt and carbon deposits are washed away during spraying because of the pressure in the cylinder.
To use carb spray to clean your carburetor, follow the instructions below.
- Turn off the bike’s engine.
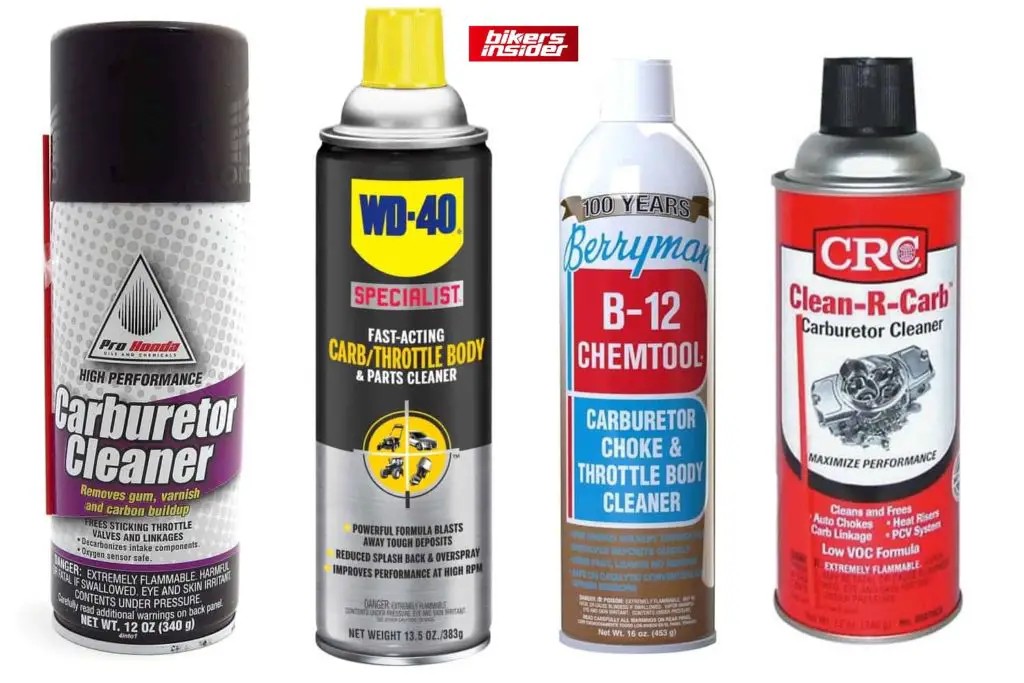
- Remove the air filter and use a product like Gumout® carb cleaning to clean the vehicle’s carburetor, throttle, and float chamber (avoid spraying on electrical connections). Within a few minutes, you’ll see the dirt dissolving.
- Repeat the cleaning process as necessary.
- Start the engine and let it warm up for 5-7 minutes on idling before driving.
The carburetor cavity, flaps, and other elements of the fuel system should all have Gumout® sprayed into them while the engine is still running.
Spray the cleaner for 5 to 10 seconds after the engine is turned off.
Wait for the cleaner to dry completely before rinsing or wiping it down.
Your carburetor is now like new. Take your bike out for a spin now after the replacement of the air filter.
Other products to clean motorcycle carburetor
These include the throttle valve, filter, venturi, and the float chamber of the carburetors. Alternatively, you can leave the carburetor installed in the engine and blow compressed air into the holes. Removing the carburetor and cleaning it with a WD-40 Specialist Engine Degreaser is an easy task if you’ve ever done it before on a motorcycle.
HEST, a novel technique, cleans the entire engine’s fuel supply system. This includes the gas tank and the combustion chamber.
Rough idling, poor fuel economy, and engine failure can all be caused by fuel impurities. Reading the label is the best way to determine if a product incorporates HEST technology.
A good carburetor cleaner for motorcycles may also remove deposits like gums, dirt, and other potentially harmful substances from the carburetor. Exhaust fumes are produced due to the chemical reaction between Berryman B-12 and residues.
It’s essential that the cleaner can be completely dissolved in water. The carburetor can’t hold it for long. Carburetor clogging can occur when using cleaning agents such as carbon. As a result, only buy products that have the approval of experts.
How often to clean motorcycle carburetor
Clogged carburetors are not necessarily the cause of engine misfires. So before you spend your hard-earned money cleaning it, you need to know the root source of the problem.
Misfires can be caused by dirty oil or air filters or faulty spark plugs during cold starts, depending on the type of vehicle and how often the engine is started.
Regular use of the motorcycle keeps the carburetor clean because of the consistent fuel flow. As a result, if you ride your bike every day, you should get your carburetor to inspect and clean every six months. You should dismantle and thoroughly clean the carburetor if you are resuming the use of your motorcycle after a long hiatus (post-winter season).
Conclusion
In some instances, a short clean like this isn’t enough to do the job. The carburetor may have other faults that you need to investigate. This necessitates the removal of the carburetor from the bike.
Carburetor disassembly scares a lot of folks. They have a lot of small pieces that are easy to lose. Thanks to the BikerInsider tutorial and many online forums, you can learn how to take apart and put back together with your unique carburetor.
How did your carburetor cleaning go? please let us know in the comment section. For more updates and guides keep visiting BikersInsider.


For all motorcycle enthusiasts out there, maintaining your bike’s performance requires regular carburetor cleaning. Take note of these valuable tips to prevent carburetor damage and ensure peak performance. Employ a solvent that treats the materials kindly and consider riding your bike frequently to avert carburetor-related issues.